
Based on Elizabeth Schneider Colchie’s Spicy Cut-Outs

This Christmas, instead of only making one or two cookie types as I have for the past ten or so years, I decided to bake six different types. This of course is nowhere near the twelve or more different types that my family used to make when I was a child. One of the cookies I decided to try was traditional Gingerbread Cookies with Royal Icing. I have made triple ginger snaps before, but never decorated gingerbread cookies.
I’ve seen in most the baking shows I’ve watched the contestants making gingerbread. Most times it’s been structural gingerbread, which doesn’t contain any leavening agent so the structure or shape of the cookie doesn’t become distorted. I also learned that quite a few people dislike gingerbread, almost as much as fruit cake, which surprised me. Ginger is one of my favorite flavors. In fact, I can’t stand when there isn’t enough ginger flavor in something like ginger ale. So I searched my mother’s recipe binder and found Elizabeth Schneider Colchie’s Spicy Cut-Outs in the “Ladies’ Home Journal The Cookie Book ’81.”
As with most recipes, I did make some alterations. One of the most notable changes is that I doubled the spices, in addition to adding nutmeg and clove. I used my stand mixer for this, because the dough can end up being a little stiff at the end. After you mix your dough, you will want to chill it for at least 24 hours before rolling it out. I like a crisper cookie, so I rolled them out to about a 1/4 inch thick. A helpful tool in rolling out dough is the set of rolling pin guide rings I got from Amazon. You just slide them over your rolling pin and you don’t have to use a ruler to try and see if your dough is the right thickness. I used three cookie cutters; Gingerbread Men (not pictured), Christmas Trees and Stockings. Depending on the size of your cookie cutter and the thickness you roll the dough out, will effect the number of cookies you get, so the yield listed below is approximate. You want to work in small batches and keep your unused dough in the refrigerator until you are ready to use it. Because the dough is refrigerated, the cookie will not spread as much as other cookies.


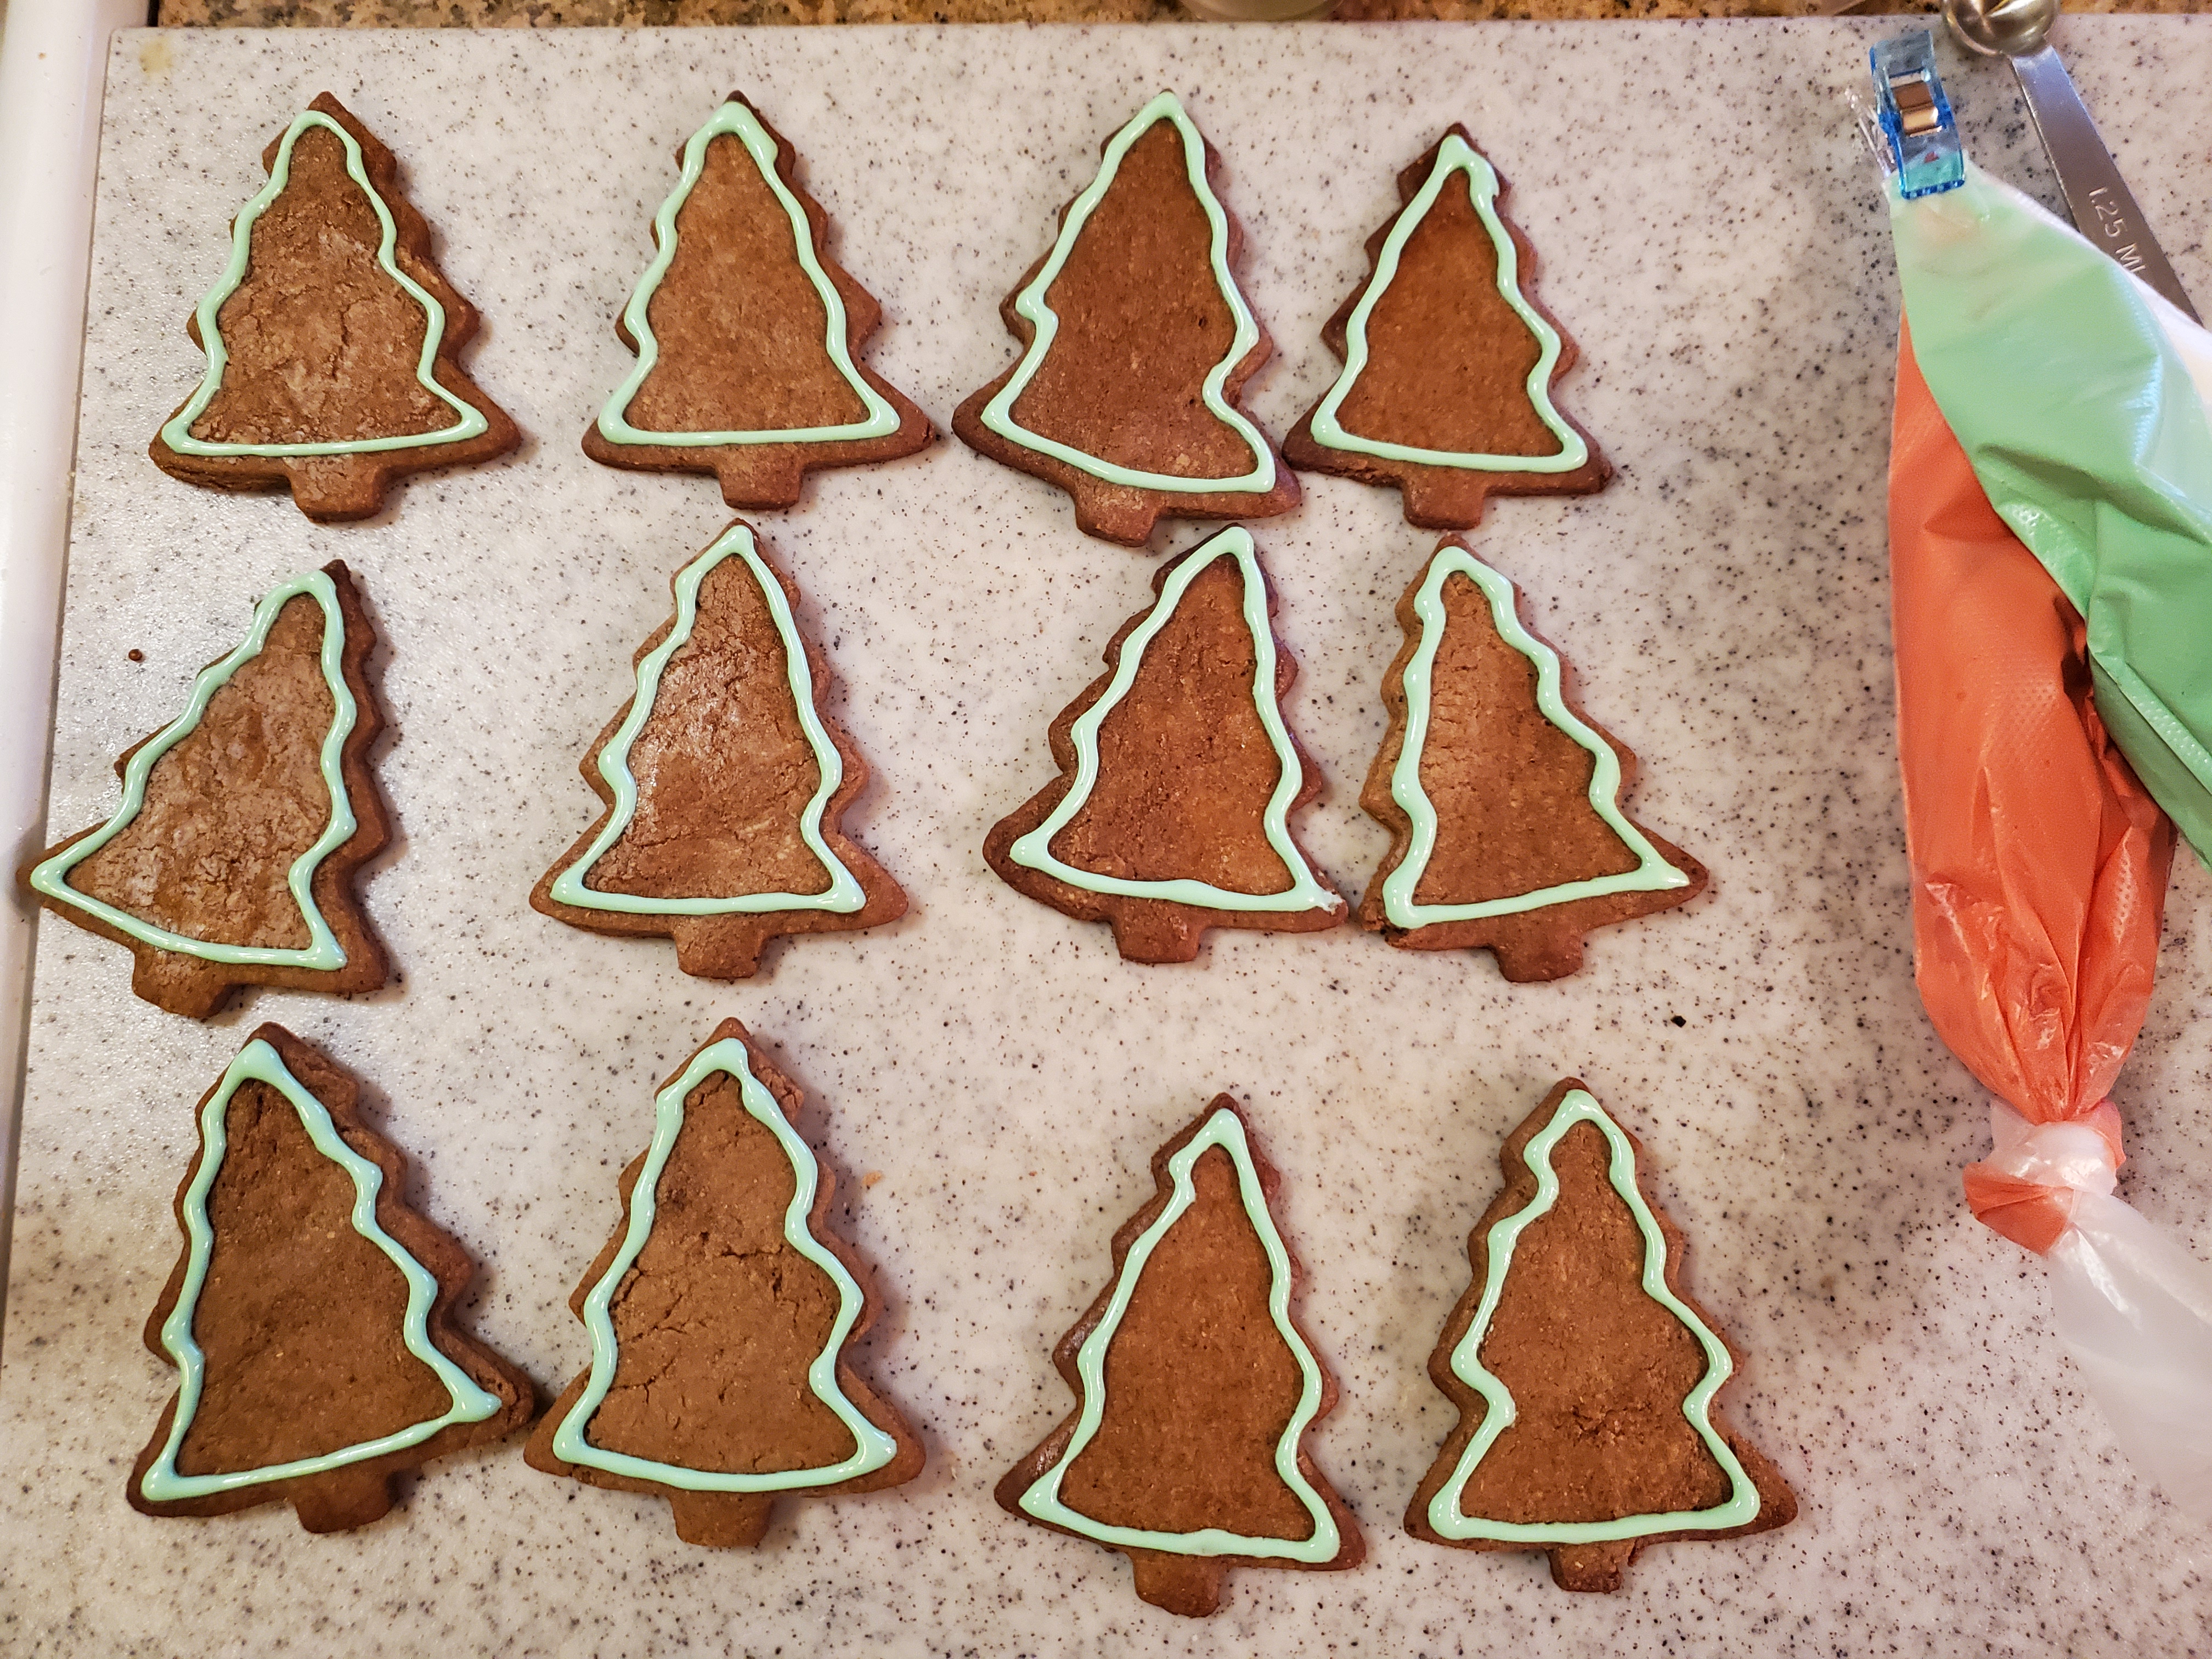
As you can see, some of the cookies did get a little browner than others. The suggestion is 8 to 10 minutes bake time, but as I continued to bake, I actually found that my oven seemed to bake faster at times, so I would suggest you start checking your cookies at about 5 minutes especially if you roll them as thin as I did. Make sure you let your cookies cool completely before icing, because no matter how stiff your icing is, if the cookie is too warm it will not stick. My suggestion, bake your cookies one day and ice them the next. Now for the decoration.
The recipe did come with instructions for royal icing made from egg whites. This is fine if you are just baking cookies for yourself; however, I was also going to be sending cookies to friends out of state. Because egg white royal icing requires it to be refrigerated and is only good for about 3 days, I opted to make it from meringue powder instead. Royal icing made from meringue powder is good for up to 3 weeks if stored in an air tight container. I used the instructions from the Wilton website for even though I purchased a different brand of meringue powder from Amazon. The site also has videos on how to make the various consistencies needed for outlining and flooding as well as decorating ideas. If you have just the standard decorating tips for cupcakes, you will not have a tip that is fine enough to decorate cookies with. You will either need a good cookie decorating tip and tool set, or you can get a set of tipless piping bags. The meringue powder, tipless bags and decorating tools are all available through Amazon too. Unfortunately, I didn’t have either and none of the options were going to arrive before Christmas, so my friends got either undecorated gingerbread or gingerbread men decorated using a toothpick. I would not recommend this option! I did order the tipless bag set and was surprised when it arrived on Christmas Eve.

When you make your initial batch of royal icing, the recipe is for the stiff icing which you use to pipe flowers or use as glue for gingerbread houses. You will need to thin down to a medium consistency for outlining a dam around the cookie and then thin it down even more to flood the marked out areas. Wilton suggests using an eye dropper to add you water, another site suggests using a spray bottle. This site, Haniela’s, also has some troubleshooting advise for royal icing. I made the royal icing with water and then used Cointreau to thin the icing down for the medium and flooding consistencies. Whatever flavoring you add, you should make sure that you use water or alcohol based flavors, because oil can effect the consistency of the icing. Also, if you want to add vanilla flavoring to white icing, you should use clear vanilla flavoring; otherwise, the white icing will no longer be a stark white.
When it comes to coloring icing, gel colors will give you more vibrant colors than the usual liquid food colorings that most non-professional bakers are used to using. You can use the liquid coloring, but this can effect the consistency of the icing. Some also feel that these liquid food colorings have a chemical taste to them. Whichever you use, make sure you add a little at a time, because you can add more color, but you can’t take it out. If you use the liquid food colors and the consistency does become too thin, add a little of the original batch of non-thinned icing and mix, then retest to make sure the right texture is achieved.


Cut the very tip of the bag off and outline the major areas with the medium consistency icing. After piping the outlines, make sure you fold over and secure the bags with a clip to ensure the icing doesn’t dry out. Flood each area with the thinned icing. You can use an icing pick or toothpick to help distribute the thinned icing. The goal is to not see the separation between the outline and the flooding. Fold over and clip the tips on the unused icing. To add additional decorations, you can use a wet-on-wet application, so the additional decorations are not raised above the flooding. I chose to let the base layer dry for 8 hours and then applied the holly and decorations to the trees, so that they were slightly raised. You can store any unused icing in a sealed container at room temperature for two weeks. While the decorations aren’t perfect, I believe for a first attempt I did pretty good. As they say, practice makes perfect!
Gingerbread Cookies with Royal Icing

Ingredients
Credit: Elizabeth Schneider Colchie’s Spicy Cut-Outs
For the Cookies:
- 2 cups all purpose flour
- 1/2 tsp baking powder
- 1/4 tsp baking soda
- 1/2 tsp salt
- 4 tsp cinnamon
- 2 tsp coriander
- 2 tsp ground ginger
- 1 tsp ground mace
- 1/2 tsp black pepper
- 1/2 tsp ground nutmeg
- 1/4 tsp ground clove
- 3/4 cup, plus 2 tbls unsalted butter, softened
- 1/2 cup dark brown sugar
- 1/2 granulated sugar
- 1/4 cup molasses
- 1 egg, room temperature
- 1/4 cup milk
For the Royal Icing:
Credit: Wilton
- 3 tbl meringue powder
- 4 cups confectioners sugar, sifted
- 5 tbl warm water
- flavorings (water or alcohol based only), as desired
- gel food colors, if desired
Directions
- Sift together flour, baking soda, baking powder, salt and spices.
- In a stand mixer, using the paddle attachment, beat butter until fluffy.
- Gradually add in brown sugar.
- Add molasses and granulated sugar and beat.
- Add egg and beat well.
- Gradually add in half the flour mixture and mix at lowest speed.
- Add in remaining flour mixture and mix at low speed until fully incorporated.
- Wrap dough in plastic wrap and chill 1 to 2 days.
- Preheat oven to 375 degrees.
- Divide dough into quarters, returning 3/4 of the dough back to the refrigerator.
- Roll dough between two floured sheets of parchment paper to desired thickness.
- Cut dough with cookie cutters and place on parchment or silpat lined cookie sheets.
- Brush dough with milk before putting in oven.
- Bake 8 – 10 minutes until edges just begin to brown.
- As one or two sheets of cookies are baking, gather the scraps and continue to roll and cut cookies until you use all the dough, including the quarters left in the refrigerator.
- Let cookies cool completely before icing.
- For Royal Icing – In a stand mixer using the paddle attachment, beat together meringue powder and water.
- Add sifted confectioners sugar until all sugar is incorporated and stiff peaks form, about 7 – 10 minutes.
- Let sit for 15 – 30 minutes until air bubbles rise.
- Stir top to break air bubbles.
- If coloring, divide the icing into separate bowls. You will need two bowls for each color, as you will need both medium and thin consistency for each.
- Add about 1/8 tsp of water or flavoring per cup of icing to make medium consistency. If you are adding color, you can do this at the same time. Keep track of how much color you add for the medium consistency, so you use the same amount to make the thin consistency and colors match. Mix in a figure 8 motion until mixed completely. Cover with a wet towel and let sit for 15 minutes to allow bubbles to rise. Repeat this for all colors you require.
- To the second cup of icing, add about a teaspoon of water or flavoring for thin or flooding consistency. Add the same amount of food coloring gel to this as you did the medium consistency. Mix in a figure 8 motion until mixed completely. To check to see if the consistency is correct for flooding, pick up some icing with a spatula and drop it back into the bowl. If it sinks into a flat surface and disappears within 10-20 seconds, you have the correct consistency. Cover with a wet towel and let sit for 15 minutes to allow bubbles to rise. Repeat this for all colors you require.
- After 15 minutes, pop the bubbles in both the medium and thinned consistencies. Place each bowl of icing into a separate tipless piping bag and tie a knot at the top to seal. Make sure you group or label the bags so you remember which bags contain the thinned and which contain the medium consistencies.
- Lay our the cookies for decoration. Cut off the very end of the bag and outline areas using the medium consistency bags of icing, then flood those areas using the thinned icing. If you need to, you can use either a pick or toothpick to spread the thinned icing a bit. Your goal is to have the flooding disguise the fact that the areas are outlined.
- Once cookies are flooded, allow to dry for 8 – 10 hours before applying additional decorations with the remaining icing.
- Allow icing to dry for 24 hours before boxing or shipping.
Variations
- Add fresh ginger and candied ginger to recipe to make these triple gingerbread cookies.
- If you prefer a cookie with less spice, you can halve the spices.
- Add lemon or orange zest to the cookie dough.
- Use Cointreau instead of water in the Royal Icing.
- Use a fan to speed up the drying of each layer of icing.
